

How to Make a Clay Mushroom Scene
A clay mushroom scene can begin with one sturdy stalk, one cap and a low base.
On this page
A clay mushroom scene can begin with one sturdy stalk, one cap and a low base. Keep the first mushroom broad and compact. The cap should sit on a substantial support rather than balance on a thin stem.
Try a cap-and-stem proportion study
Make two small mushrooms from the same clay line. Keep the stems similarly short and broad, but give one a wider cap. Compare them before adding spots. This isolates the cap-to-stem relationship that makes the design read as a mushroom.
For each, prepare one stalk, one domed cap and a few flattened decoration dots. Keep the underside of the cap supported by a broad contact on the stalk. Add texture only after checking the side profile and level base. If the cap leans, remove and reshape it while workable rather than hiding the tilt with more decoration.
Plan the footprint before the cap
Flatten a small oval or round base and choose where the stalk will meet it. Form a short, thick stalk with a broad lower contact area. Join it securely and check that it stands upright when viewed from two directions.
If you want several mushrooms, sketch their heights first. Different sizes can create variety without requiring complicated construction.

Shape a shallow cap
Make a rounded dome and flatten its underside enough to meet the stalk across an area. Compare the cap's width with the stalk before attaching it. On your first attempt, avoid a huge overhanging cap supported by a very narrow neck.
Blend the join where it is accessible. Turn the tile to inspect the back rather than lifting the mushroom by its cap.
Add one surface pattern
Use a few flattened spots or shallow broad marks. Keep the pattern spaced so the cap remains the main form. Small attached decorations should contact the cap fully instead of sitting on a tiny raised point.
Choose a limited palette. A cream stalk, muted red cap and simple green ground accent are enough for a complete study.

Make the base quiet
Add a low stone or flat leaf only after the mushroom is stable. Avoid many thin grass blades on the first version. Leave an accessible base edge for handling the finished piece.
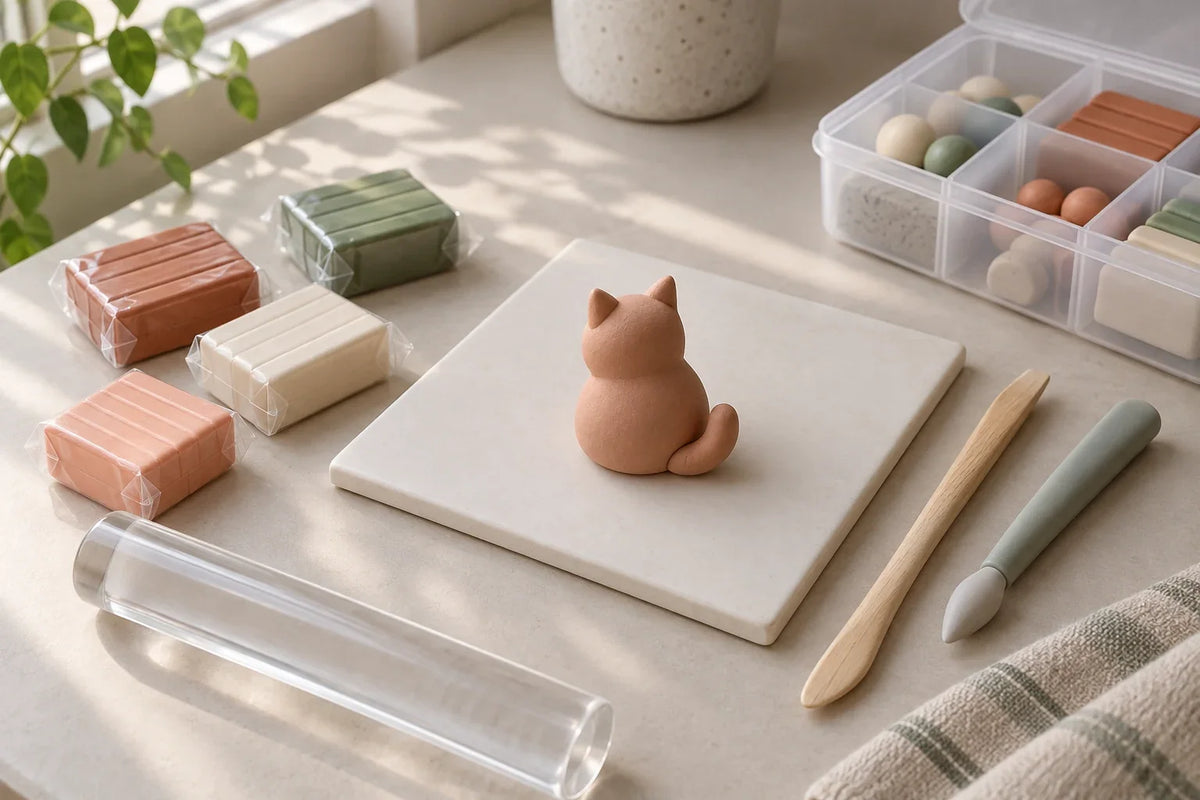
Process all components according to verified material instructions; see the curing checklist. The image is an illustrative design, not an edible mushroom identification guide or a tested workshop result. For a second scene, compare two cap profiles while holding the stalk proportions constant. That makes the design experiment easy to understand.


